A Guide to Fitting Tape Hair Extensions
Tape hair extensions can add incredible length and volume to your hair with a natural finish. However, getting a seamless look requires the right technique and a few essential tools. In this guide, we'll walk you through how to fit tape hair extensions for a flawless, long-lasting application.
Before You Begin
Here’s what you’ll need:
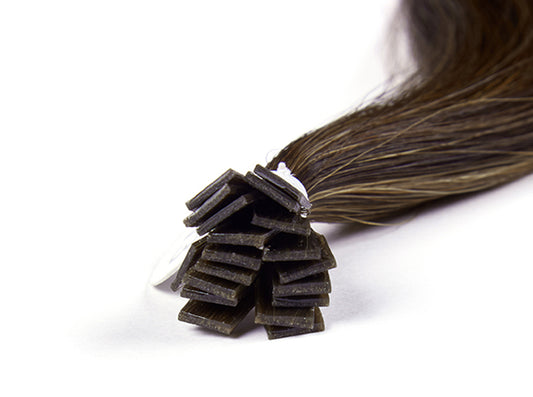
- Tape extensions in the correct color
- A pintail comb
- A clamping tool
- Sectioning clips
Having these tools at hand will make the process smooth and help you achieve the best results.
Step 1: Prepare Your Tape Extensions
To begin, carefully remove the protective backing from the tape extensions.
Step 2: Create a Clean Section
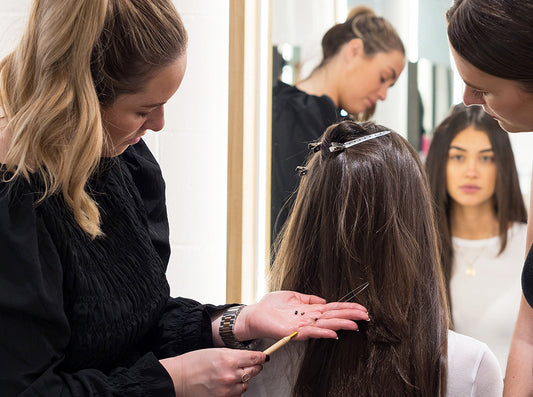
Start by sectioning your hair. This is crucial for a natural blend. Use the pintail comb to create a straight, clean parting. Ensure the section is wide enough to accommodate the tape without capturing stray hairs, but don’t worry if it’s not exactly the size of the tape.
The section should be about a 50% weave, which means it should pass the "watch test"—you should be able to see a watch through the sectioned hair. Use a clip to hold the section in place.
Step 3: Apply the Tape Extensions
With the section prepared, it’s time to apply the tape extension. Position the tape underneath the sectioned hair, keeping your fingers flat and close to the scalp. Gently push the tape against the scalp and lay the hair down over it.
This first contact is crucial. Use the comb to rub the hair against the tape, ensuring the hair bonds well with the adhesive.
Step 4: Tidy the Edges
Next, clean up the edges of the tape. Take the pintail comb and gently press along the curved edges of the tape near the scalp to embed it securely. Be cautious not to pull or hold the tape while doing this, as it may shift or move the adhesive.
Step 5: Add the Top Tape
Now, it’s time to add the top layer of tape. Avoid touching the adhesive directly, as natural oils from your fingers can reduce its stickiness. Place the tape gently on top, aligning it with the bottom layer. Then, using the heat of your fingers, press from the middle outward in a massaging motion, about six to eight times, to secure the tape.
Step 6: Clamp the Tape Extensions
For the final step, use your clamping tool to squeeze the tapes together. This step ensures the tapes are firmly bonded and well-secured, giving you a long-lasting, natural look.


